 Step One: create a design with letters
After 7 designs, I decided to use a letter with some curves. It led me to use the letter, J (
in cap), in a script font (
font currently unknown). I
dissected the top of the 'J' from the bottom using the PEN Tool. Mainly deleting points rather than adding and/or moving points. Then moved the two parts around.
Objective: create a flower-looking object.
 Step Two: make a pattern
I didn't want to make a typical pattern with just up and down repeated objects. Instead, I tried to fit the shape into one another the best I can, by rotating them if I had to.
After deciding on a set pattern, I duplicated the pattern to make it into a bigger wallpaper pattern. Testing out a few possibilities.


Satisfied with the third, I went on to adding colors.


I decided to use the colors red, black, & white [
note: red isn't my favorite color].
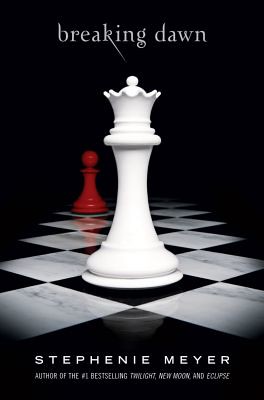
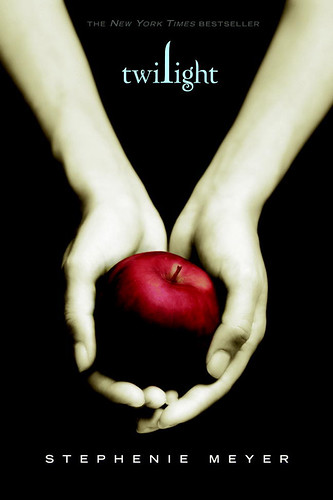
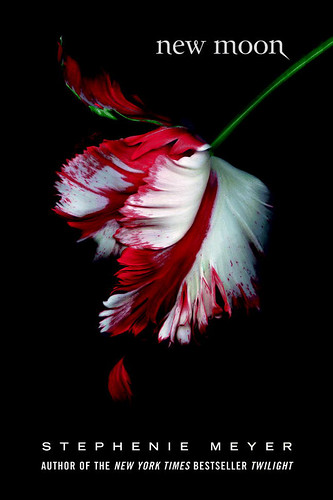
I really like the book covers of Stephenie Meyers. The black & red just really stood out to me.
 Step Three: add logos and shape representing the "Show2008"
Liking the first wallpaper more, I continued on with that one.
Objective: simple & elegant


I added my own 'PEN Tool trace of a lounge chair'
that I found on the internet. Also adding the logos & text required on the poster.


For the first critique, I was advised to bring in my wallpaper into the object (
the furniture). Even though the colors were matching, it was still separate from the wallpaper and both were not relating to one another. The white shapes on the chair wasn't working either. It may have looked nice, but again it was not complimenting the wallpaper though it may have shown 3-dimensional.
Compliment made was that my type was arranged correctly and nice.
After seeing the print in actual size with the class, I noticed some things that I did not like. The 'Show2008 logo' and title 'Show2008' were too close to each other, and there were black strokes left on the red pedals. But what I hated most was that the logos of the sponsors were really big and the "Design Within Reach" was just too much with it being a white rectangle at the bottom of the poster.
So, I went back into Illustrator to make the changes.
Took out the white shadow shapes from the chair. Added more space to the show's logo and title. Shrunk the logos, and turned the 'Design Within Reach' to black/transparent, and moved it to aligned with the right edge of the chair. And then tried bringing in the pattern into the object.

But it turns out there was too much black, so I decided to change my chair white and make the pattern black since the shadow of the chair was already red.
And Michelle advised that I bleed the black background into the pattern as if the wallpaper was to evolve into the chair.

While bleeding the black background into the pattern, I wanted to blend the pattern to the shape of the chair more. Therefore, I started to use the PEN Tool to curve certain lines and ends of my pattern to match with the leg of the chair or with the angles of the chair's edges. I also rotated and twisted the pattern to give the object a 3-dimensional look (which would be the most difficult part).
My final piece:
Assignment completed: Thursday, October 23rd, 2008.


